If you've ever taken on the challenge of building your own plane, you'll know it's no small feat. It's a journey paved with patience, perseverance, and more than a few moments of frustration.
For me, it all started a few years ago, driven by a dream to assemble another extraordinary aircraft. I chose the RV-7. A sleek, nimble aircraft beloved by aviation enthusiasts worldwide. You can't go wrong by choosing to build one of the most popular kit planes in the world.
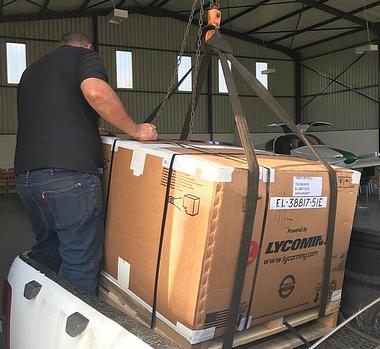
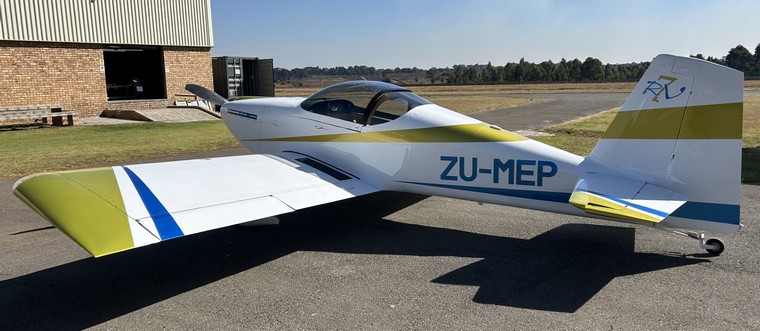
There were setbacks and breakthroughs, doubts and triumphs. And now, I'm thrilled to announce that the project has reached its crowning moment: ZU-MEP has officially taken to the skies. In April 2021 we took delivery of many parts of the kit and the Lycoming IO 360 engine which had been delivered from Oregan USA via Durban docks to my hangar in Springs. I chose this 180HP engine because it is standard for this type of aircraft and didn't see any good reason to deviate from the tried and trusted recipe.
14 April 2021 marked the beginning of one of the most meticulous and time-intensive phases of the project: the inventory check. With more than 10,000 individual components to account for, it was important to notify Vans early of any parts that were missing or not packed. If I ever get crazy enough to build another kit plane, I will spend more time at the beginning of the project organising and storing the components. A lot of frustrating time was wasted looking for parts during the build.
Once the inventory phase was complete, the next major hurdle was sourcing the right tools to bring the RV-7 to life. A task that can quickly spiral into a project of its own. The quality of the build depends a lot on having the correct tools. Fortunately, I had a valuable ally in the process: my aviation friend, Richardt Lovett. Having previously bought an RV-14 kit from me, Richardt sold me his tools that he used building his 14. Thanks to him, I had everything I needed to tackle the build with confidence and couldn't blame build quality on not having the right tools.
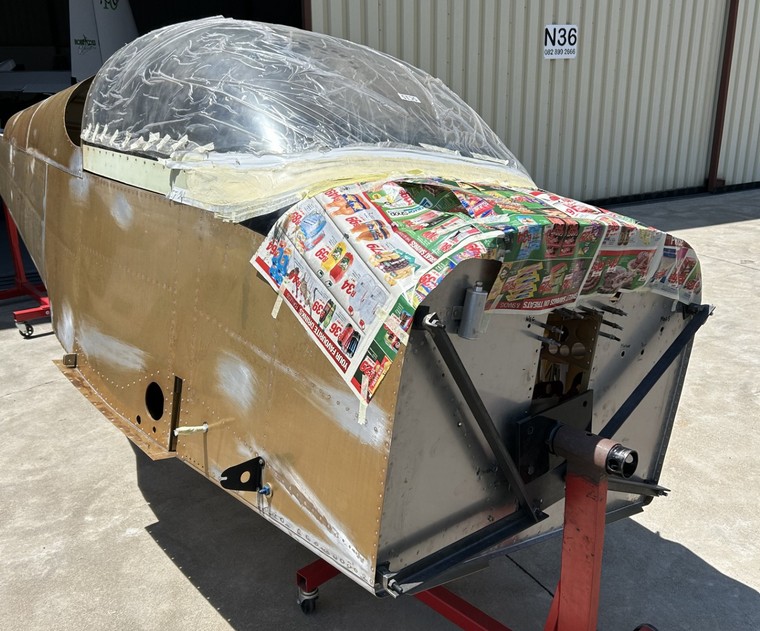
As the parts get bigger, you need extra equipment to make life easier. In this case it is an engine mounting bracket bought at AutoZone.
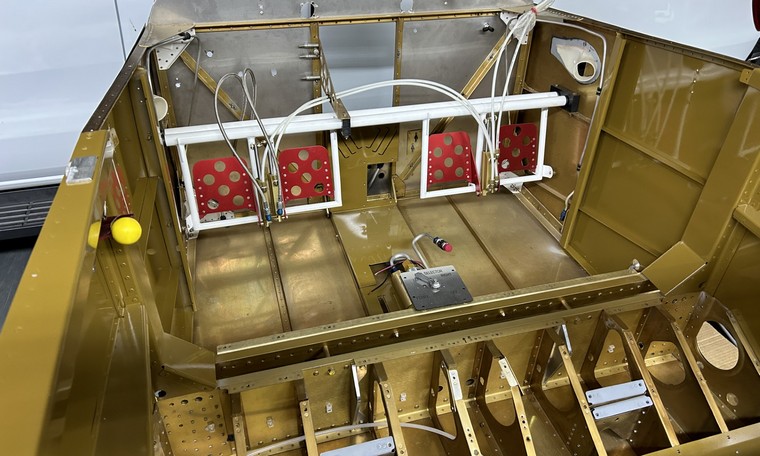
Open forward cockpit. At this early stage it is easy to work in the interior.
Assembly gets trickier as parts are added to the fuselage. Tasks like drilling holes should be done while you still have good access. Just like flying, building using the correct order is extremely important. Doing tasks in the correct sequence minimises repeat work.
Fast-forward to 11 September 2021, and the countdown was officially over. The day the RV-7 build truly began. I deliberately chose this date for a reason: 9/11 is etched in history and remembrance, and by starting on the 11th, I knew I'd never forget when this journey took flight.
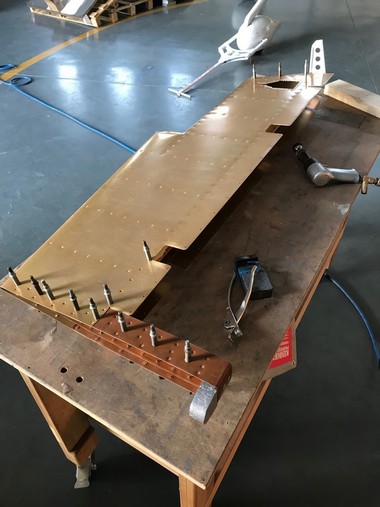
Looking backward into the fuselage...........View of the upside down leftelevator. Notice the rivit gun, ducking bar, clecos and cleco plier. These tools are never far from the builders reach. Clecos are used to align two or more rivet holes, before the rivits are set.
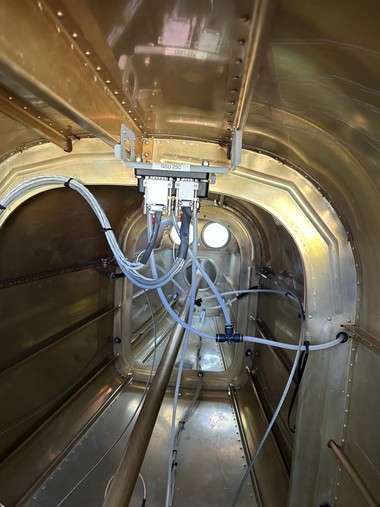
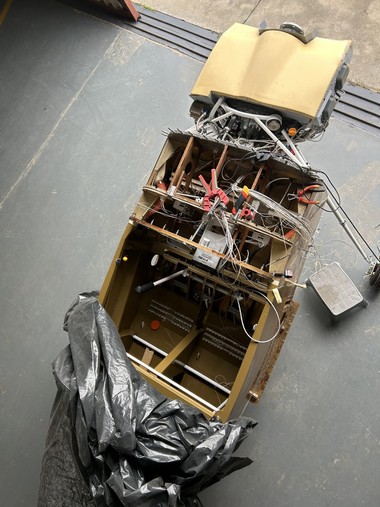
Left: Hundreds of wires routing here and there. At this stage of the build, the apparent progress appears to be stagnating. This is only because most of the wires are hidden when the aircraft is fully assembled. Modern technology allows small general aviation planes to be highly sophisticated. Right: Setting sun after a busy day spray painting.
Day by day, I poured countless hours into what felt like a life-sized adult Meccano set. First up was the vertical stabiliser, rudder and horizontal stabiliser, then the wings, the fuselage, engine, electrical wiring, cockpit, final assembly, and finally the spray painting. With any new build, this is the fun stuff, but the paperwork is another story. I was fortunate to have Stella do her thing with the CAA, so they didn't delay the finalisation of the project and were helpful, tolerant and patient, although they were reminded on a few occasions that this is not something we do on a daily basis.
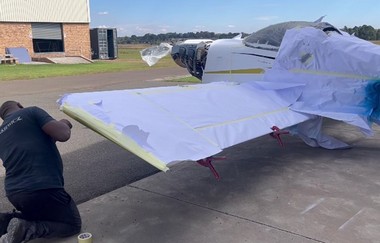
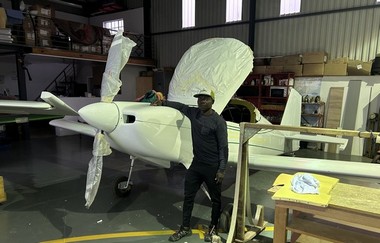
2 May 2024. Getting there. It's starting to look like an aeroplane. Having no wings makes cockpit access easier. Also, less work area is required..........18 February 2025 - Hassan my trusted helper.
I have learned a lot about using my hands. Thank you to Eric for showing me a few very helpful tips. Aluminium is an amazing material. No wonder it has been a favourite aviation material for decades. To my unwavering partner-in-crime, Stella, my riveter extraordinaire who was there for the long haul. From passing tools to working for hours on her back deep in the fuselage, you brought grit, patience, and a sense of humour to every rivet set. I couldn't have done it without you. To my aviation comrades (too many to mention), thank you for stopping by with encouragement, insight, helping hands, and the occasional well-timed coffee break. Whether it was lifting heavy parts or sharing your brainpower, your presence made the build lighter in every sense.
A special thanks to Hassan, my reliable work aid. From maintaining order in the hangar to stepping in whenever Stella wasn't around, you kept things running smoothly behind the scenes. To spray painter, Collen Masango, the consummate professional with his team who delivered a flawless finish: your work speaks for itself. ZU-MEP doesn't just fly, it gleams.
And to the training pilots, Johan and Johnny Smith, who are guiding me through my taildragger conversion with skill and patience. To Rob Heard, the test pilot, whose precision and courage are helping ZU-MEP earn her wings during those crucial first 25 hours of trial testing-thank you for lifting this dream into the sky.
The next exciting chapter in this journey? Taking ZU-MEP beyond the 100km CAA restricted testing radius from base. My one hope….. to be able to climb in and out the cockpit for the purpose of flying as many times as I did during the building process.
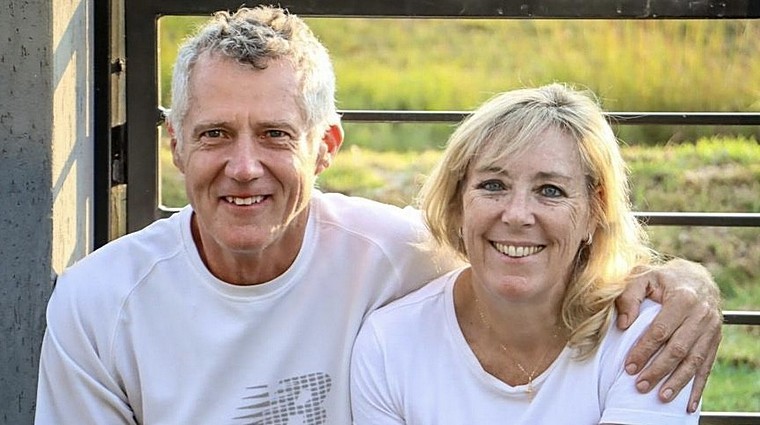
Graham Mephius and Stella Young
Aircraft Movements Chapter 322 Fly in to Tedderfield Airpark 13 Dec 2024 602


.jpg)