


THE PRE-FLIGHT PART ONE
By Ivan Van der Schaar

APPROACHING THE AIRCRAFT
So we have decided to go for a flight at our local airfield. Paperwork is done, weather checked and we are now walking across the apron and approaching our aircraft. This to me is where the pre- flight starts. If it is a rental identify the aircraft. This might sound stupid but are we approaching the right aircraft with regards to type and registration mark? I have actually seen pilots pre-flight the wrong aircraft. On this occasion all the school aircraft were painted exactly the same and consisted of Cessna 150's and Cessna 172's.
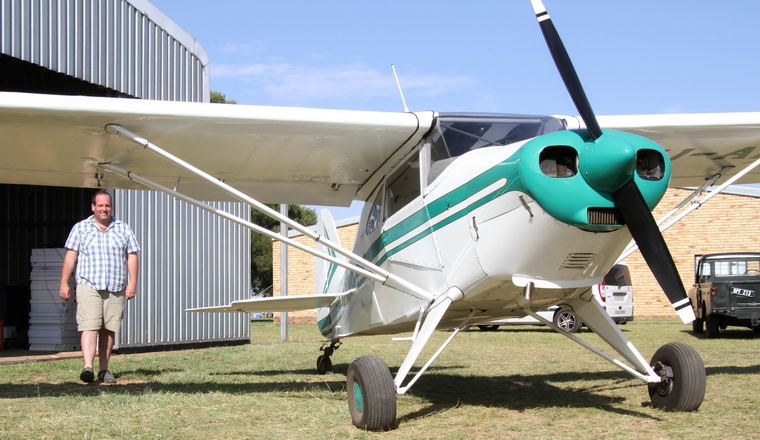
As we approach look at the aircraft. What is the general condition? Does it have an engine? Don't laugh. It has happened to me. Does the propeller look ok? Is there a big pool of oil under the engine? For a radial this would be normal. (Just like Landrovers, Radial's don't leak oil, they just mark their territory) Is there any apparent damage which might not have been reported? For instance does the undercarriage look right or is it at a rather strange angle after a hard landing that someone has conveniently forgotten to report? Check for dents on the wings, cracked windows and other items that just do not seem right. What covers and tie downs does it have and will require to be removed? Covers are there for a reason. Parts that should be covered but are not should be inspected thoroughly during your pre-flight.
Also it is always good to keep an eye on the local weather and surface conditions. What is the prevailing surface wind and runway in use? Does the weather forecast agree with what I am observing outside the building with regards to clouds, winds etc. Next I would observe where it is parked and what obstacles I would have to negotiate to get to the main taxi way. After start up am I going to blow people or other aircraft full of dust or cause damage to other people's property? Besides being just good airmanship that two meter tall build like a tank guy standing next to his brand new Cirrus may not take kindly to its pristine paintwork being sandblasted. So to avoid grievous bodily harm it may just be prudent to move the aircraft by hand before starting the engine. Also, it may be cool when starting your seriously modified 3 litre Cortina to ref the engine, high revs is not the best treatment for a cold aircraft engine. That stunning blonde in the short skirt that has been eyeing you are not going to be impressed when you pop the engine and spray oil and avgas all over her tanned shapely legs.
All these basic checks can be done as we stroll across the apron. Should something not look right or out of place immediate action can be taken and time saved especially on busy flight school aircraft where another slot might not be available all day.
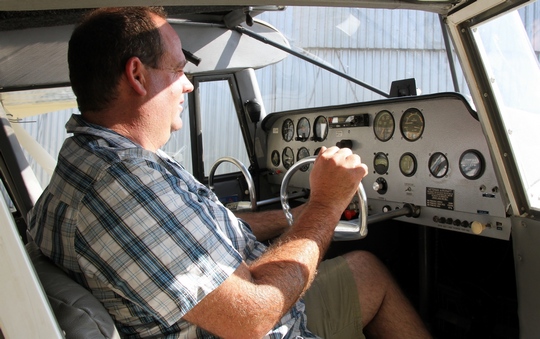
And then we finally reach the aircraft. Open the door and enter the cabin…
The cockpit check
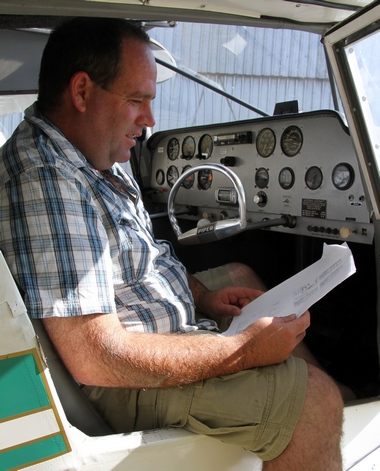
The first thing I like to check when I enter the aircraft is the paperwork; this includes all the aircraft documents and certificates. Check the inspection reminder and ensure the aircraft has enough hours or calendar time left before the next inspection. This can also be verified in the flight folio. Another important piece of information in the flight folio is whether the aircraft caries any snags, if yes, have they been rectified and signed off? Now is a good time to look at the aircraft file where all documents pertaining to that aircraft are stowed. Check to see if all the documents that are supposed to be there actually are. The Certificate of airworthiness, Certificate of registration, Certificate of release to service or the authority to fly, radio station license, weight and balance report and insurance certificate should all be there.
Once you are happy that all is there and are current and not expired you can move on to check the other items. First aid kit and strips are compulsory items, ensure they are present, sealed and within pre expiry time. Check the fire extinguisher, it may just safe your life. Ensure that it is not expired and that the pressure gauge indicates in the green band and one of the most important checks that the safety pin is installed and the fire extinguisher is securely in its stowage bracket. If the safety pin is not installed the unit can inadvertently be deployed. This has interesting consequences inside an aircraft cabin, especially so if you are at 5,000 agl.
Remove the control lock and check the fuel selector selection. If your aircraft is equipped with manual flaps check their operation and leave them extended. Switch the master switch on, make sure the electrics become live and check fuel gauge indication. This is only for reference as fuel gauges should not always be trusted as erroneous indications can be observed.
If you have electric flaps now they can be lowered. If a night flight is intended, switch on all exterior lights and make a quick walk around to check all the light operations. Be sure to switch the lights and the master switch off as the battery will run flat and can lead to embarrassing start attempts. Make sure the magnetos are switched off.
Now is a good time to grab your rag, fuel tester and fuel dipstick as we prepare to take the official walk around…
 |
 |
 Copyright © 2024 Pilot's Post PTY Ltd
The information, views and opinions by the authors contributing to Pilot’s Post are not necessarily those of the editor or other writers at Pilot’s Post.
Copyright © 2024 Pilot's Post PTY Ltd
The information, views and opinions by the authors contributing to Pilot’s Post are not necessarily those of the editor or other writers at Pilot’s Post.